


Master the Fundamentals of Photography (Even with Your Smartphone)
Photography is more than just pressing a button—it’s about capturing stories, emotions, and perspectives through your lens. Whether you’re just beginning your journey or brushing up on the basics, this mini masterclass is designed to guide you. We’ll cover the core principles like shutter speed, aperture, ISO, and exposure, along with essential techniques in angles and composition. With practical examples and easy-to-follow tips, you’ll learn how to turn everyday moments into stunning photographs—even with just your smartphone.
The Essence of Photography: The Three Pillars
- Shutter Speed: Shutter speed determines how long your camera’s shutter remains open, controlling the amount of light that reaches the sensor and the motion blur in your photos. In simple terms, it’s the duration of time needed by your camera to capture a scene. With smartphones, you may not always have direct control over shutter speed in automatic mode, but understanding its impact allows you to anticipate and adjust settings accordingly. Faster shutter speeds freeze action, ideal for capturing sports or fast-moving subjects, while slower speeds introduce motion blur.
- Aperture: Aperture refers to the size of the opening in your lens through which light passes. It’s measured in f-stops (e.g., f/2.8, f/8), where a lower f-number indicates a larger aperture and vice versa. While smartphones typically have fixed apertures, understanding aperture’s role helps you appreciate depth of field. This knowledge is invaluable when taking shots, whether you’re focusing on a single subject with a blurred background (achieved through a wider aperture) or capturing expansive landscapes with everything in sharp focus (achieved through a narrower aperture).
- ISO: ISO measures your camera sensor’s sensitivity to light. A lower ISO setting (e.g., ISO 100) is ideal for well-lit environments, producing cleaner images with minimal noise. In low-light situations, increasing the ISO (e.g., ISO 800 or higher) boosts sensor sensitivity, allowing you to capture brighter images. Understanding how ISO impacts image quality helps you make informed decisions when shooting in various lighting conditions with your smartphone.
Practical Tips for Beginners
- Get to Know Your Smartphone Camera: Familiarize yourself with your phone camera, play around with it, and explore the features and settings of your smartphone’s camera app. Many modern smartphones offer manual or pro modes that allow you to adjust settings like ISO, exposure compensation, and white balance. Experimenting with these settings will deepen your understanding of how they affect your photos.
- Focus on Angles and Composition:Angles and composition are the foundation of impactful photography. They guide the viewer’s eye to the subject, set the mood of the image, and even influence how the story is told. For example, a low angle can make a subject look powerful, while a wide shot adds context and depth. Using balance, framing, and creative perspectives also helps a photo feel polished and professional rather than random. Even beginners can make their photos more engaging and memorable by experimenting with different angles and composition techniques. Some examples of photographic angles and compositions to understand shots better.
Photography Angles
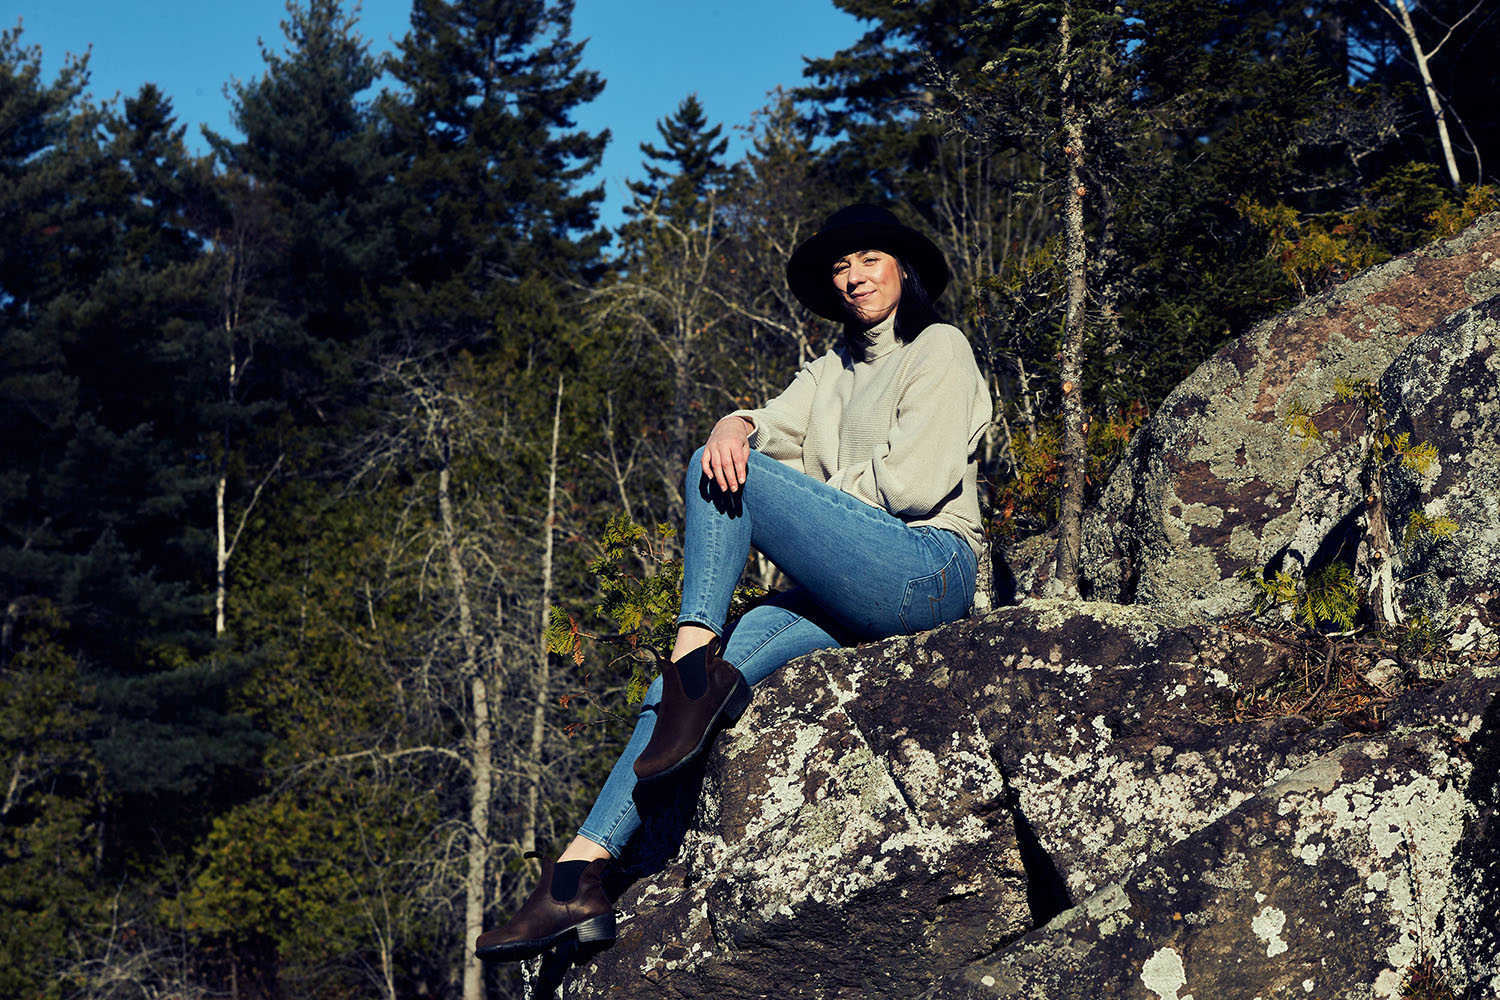
Eye-Level Shot: Taken straight on at the subject’s eye level.
Example: A portrait of a woman smiling, taken straight on at her eye level.

High Angle Shot: Taken from above the subject looking down.
Example: A toddler playing with blocks on the floor, photographed from slightly above, looking down.

Low Angle Shot: Taken from below looking up.
Example: A dramatic shot of a tall, modern skyscraper, photographed from the ground looking up.

Bird’s Eye View / Overhead Shot: Directly above the subject. Great for patterns, organization, storytelling.
Example: A flat lay arrangement of a breakfast spread with coffee, pastries, and fruit, taken directly from above.

Worm’s Eye View: Taken from the ground looking straight up. Makes things look huge and towering.
Example: Giant redwood trees towering upwards, photographed from the base of the trees looking straight up into the canopy.

Wide-Angle Shot: Captures a large scene with more in the frame. Good for travel or environmental storytelling.
Example: A sweeping landscape photo featuring mountains, a lake, a forest, and a vast sky.

Close-Up / Detail Shot: Focuses on one small area. Highlights details, emotions, or textures. Example: A tight shot of hands gently holding a warm coffee cup, focusing on the details of the hands and the cup.

Composition Techniques (Rule of Framing)
Rule of Thirds: Imagine your screen divided into 9 equal squares (a grid).
Example: A landscape photo with a lone tree positioned along the right vertical third line, and the horizon on the lower horizontal third line.

Centered Composition: Subject is directly in the middle of the frame.
Example: A single, vibrant red rose perfectly centered in the frame against a blurred green background.

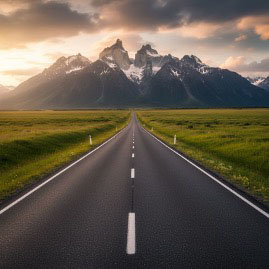
Leading Lines: Use natural lines to guide the viewer’s eyes to the subject.
Example: A long, winding road leading directly towards a majestic mountain range in the distance.
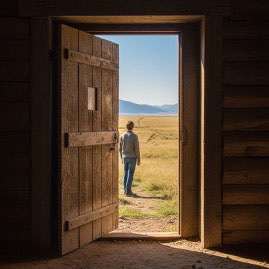
Framing Within a Frame: Use windows, doors, or arches to frame your subject.
Fill the Frame: Get close so the subject takes up most of the picture. No distractions, very intimate.
Example: A face filling the whole shot.

Negative Space: Leave lots of space around the subject. Minimalist and powerful.
Example: A bird in the corner of the sky with nothing else.

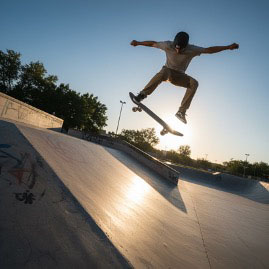
Diagonal Composition: Place your subject or horizon diagonally. Adds movement and energy.
Example: A skateboarder moving across the corner of the shot.
- Study Light and Its Effects:Light is the essence of photography. Pay attention to how natural and artificial light sources influence your subjects and scenes. Experiment with different times of day, lighting angles, and shadows to create mood and atmosphere in your photographs. Understanding light will transform your photos from ordinary to extraordinary.
- Practice Regularly and Analyse Your Work: Photography is a skill that improves with practice. Take your smartphone with you wherever you go and capture everyday moments, landscapes, portraits, and details that catch your eye. Review your photos critically to understand what works well and where you can make improvements.
- Seek Inspiration and Feedback: Surround yourself with inspiration from other photographers, both online and offline. Join photography communities or forums to share your work, gain valuable feedback, and learn from the experiences of others. Engaging with a community of like-minded individuals can provide encouragement, inspiration, and insights that accelerate your growth as a photographer.
Conclusion
Mastering the basics of shutter speed, aperture, ISO, and exposure—alongside experimenting with angles, composition, and light—forms the foundation of photography. Whether you’re capturing portraits, landscapes, or everyday moments, these skills will help you tell stronger visual stories. Remember, photography is both a technical craft and a creative art, and every shot you take is a chance to learn and grow. Stay curious, keep practicing, and most importantly—enjoy the process. With time and exploration, you’ll not only improve your skills but also develop your own unique photographic style. Happy shooting!